How to Use Hardscape Genius
A complete guide to designing your perfect stone patio
Print Your Measurement Marker
Before uploading stone photos, you'll need to print a special measurement marker. This marker helps our system accurately measure your stones' real-world dimensions.
Download Measurement Marker PDFPrinting instructions:
- Print at 100% scale (no "fit to page" or "shrink to fit")
- Use standard 8.5" × 11" paper
- After printing, verify the ruler measures exactly 10cm
- Consider laminating the marker so you can reuse it for all your photos
- Place the marker in frame when photographing your stones
Upload Your Stones
Take photos of your stones from directly above (bird's eye view). Make sure each stone is clearly visible and well-lit. Our AI will automatically detect and measure each stone.
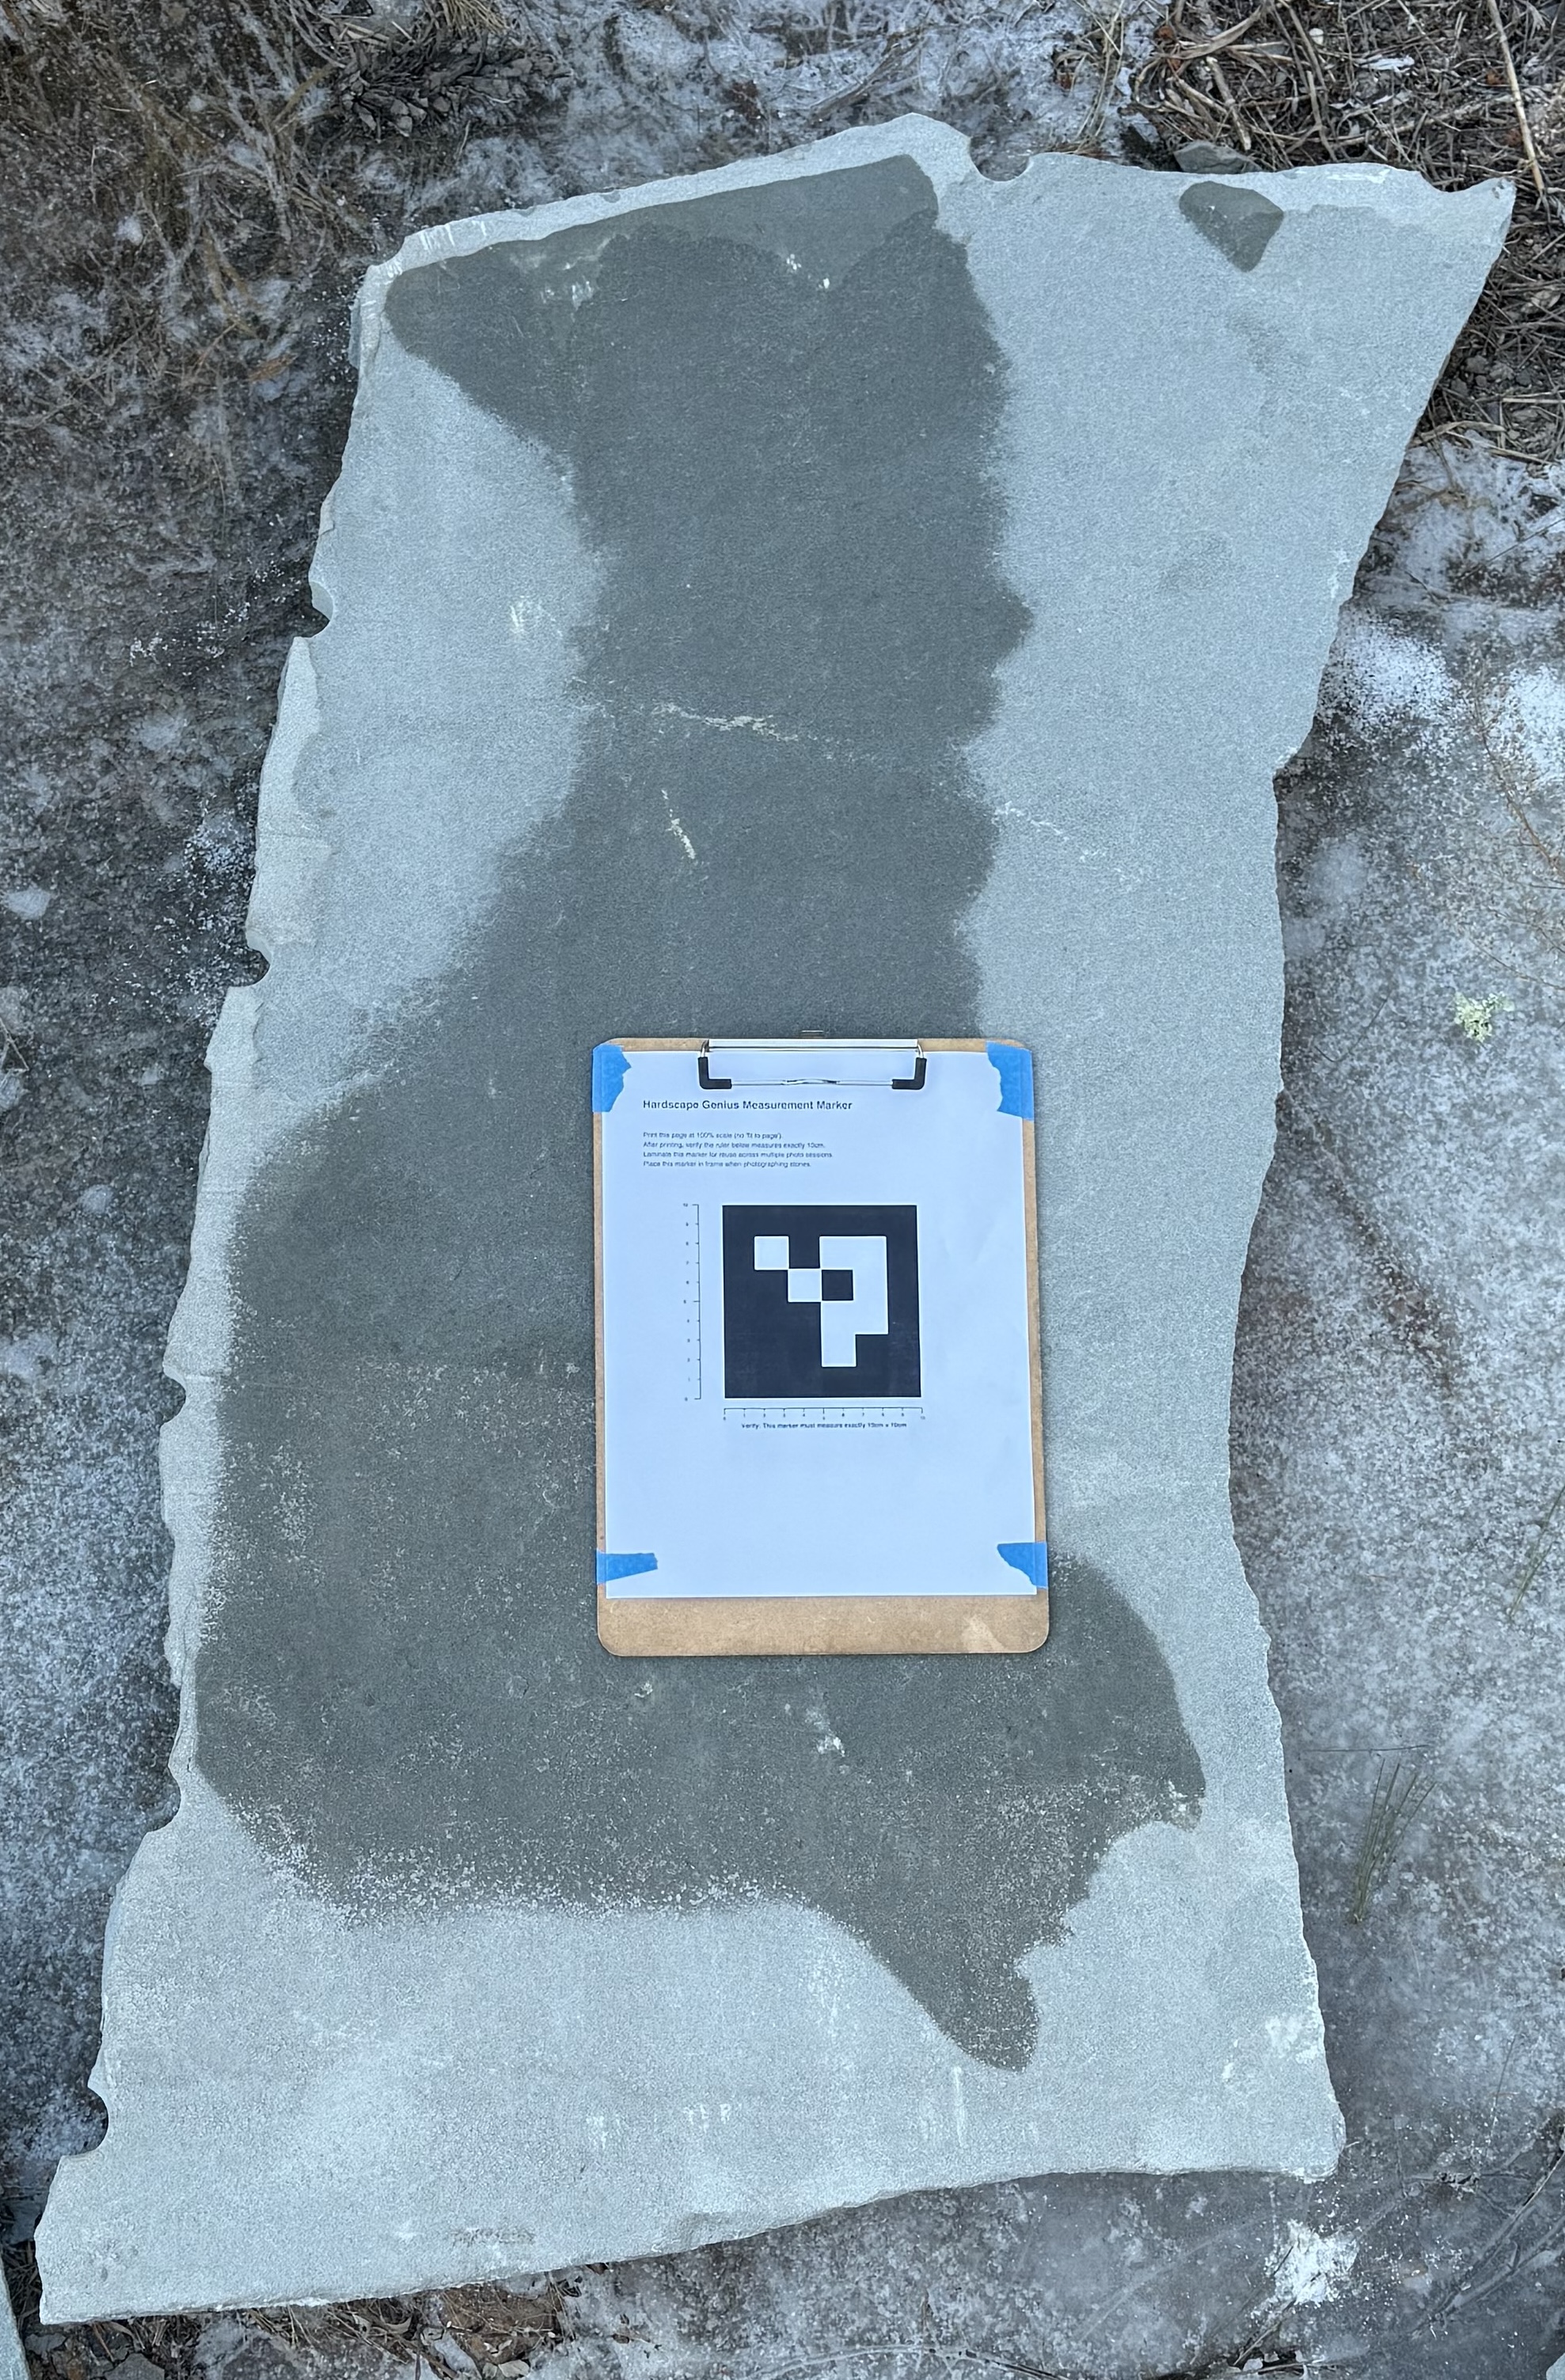
Tips for best results:
- Use natural lighting or bright indoor lights
- Place stones on a contrasting background and with a gap between stones
- Avoid shadows and reflections
- Keep camera parallel to the ground
Review & Organize
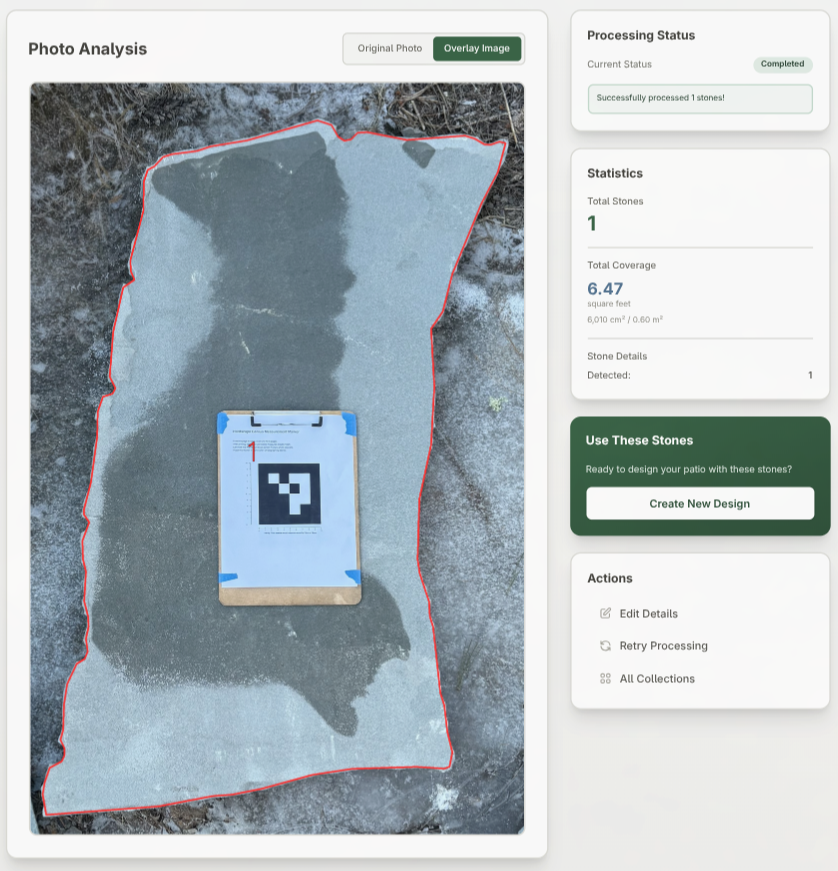
Once uploaded, review your stone collection. Label your stones with chalk according to the numbers generated during the upload process.
Design Your Layout
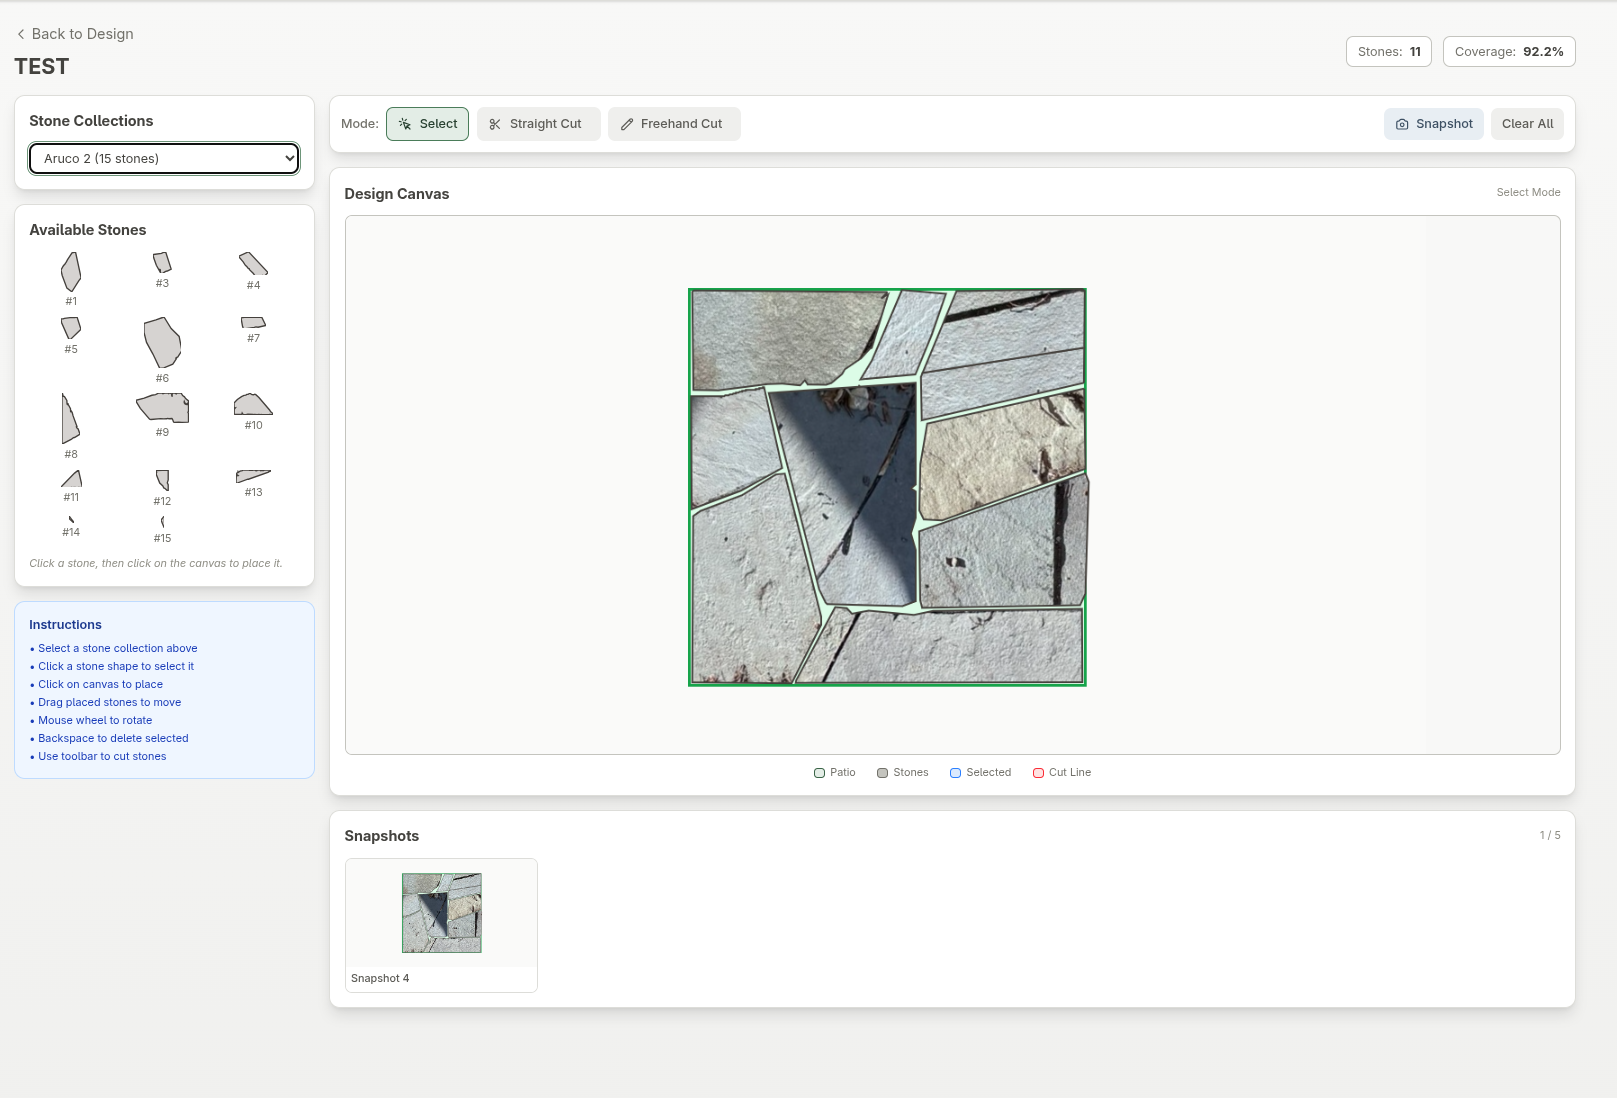
Create a new patio design and start arranging your stones. Drag and drop stones into place, rotate them, and experiment with different layouts until you find the perfect arrangement.
Cut & Customize
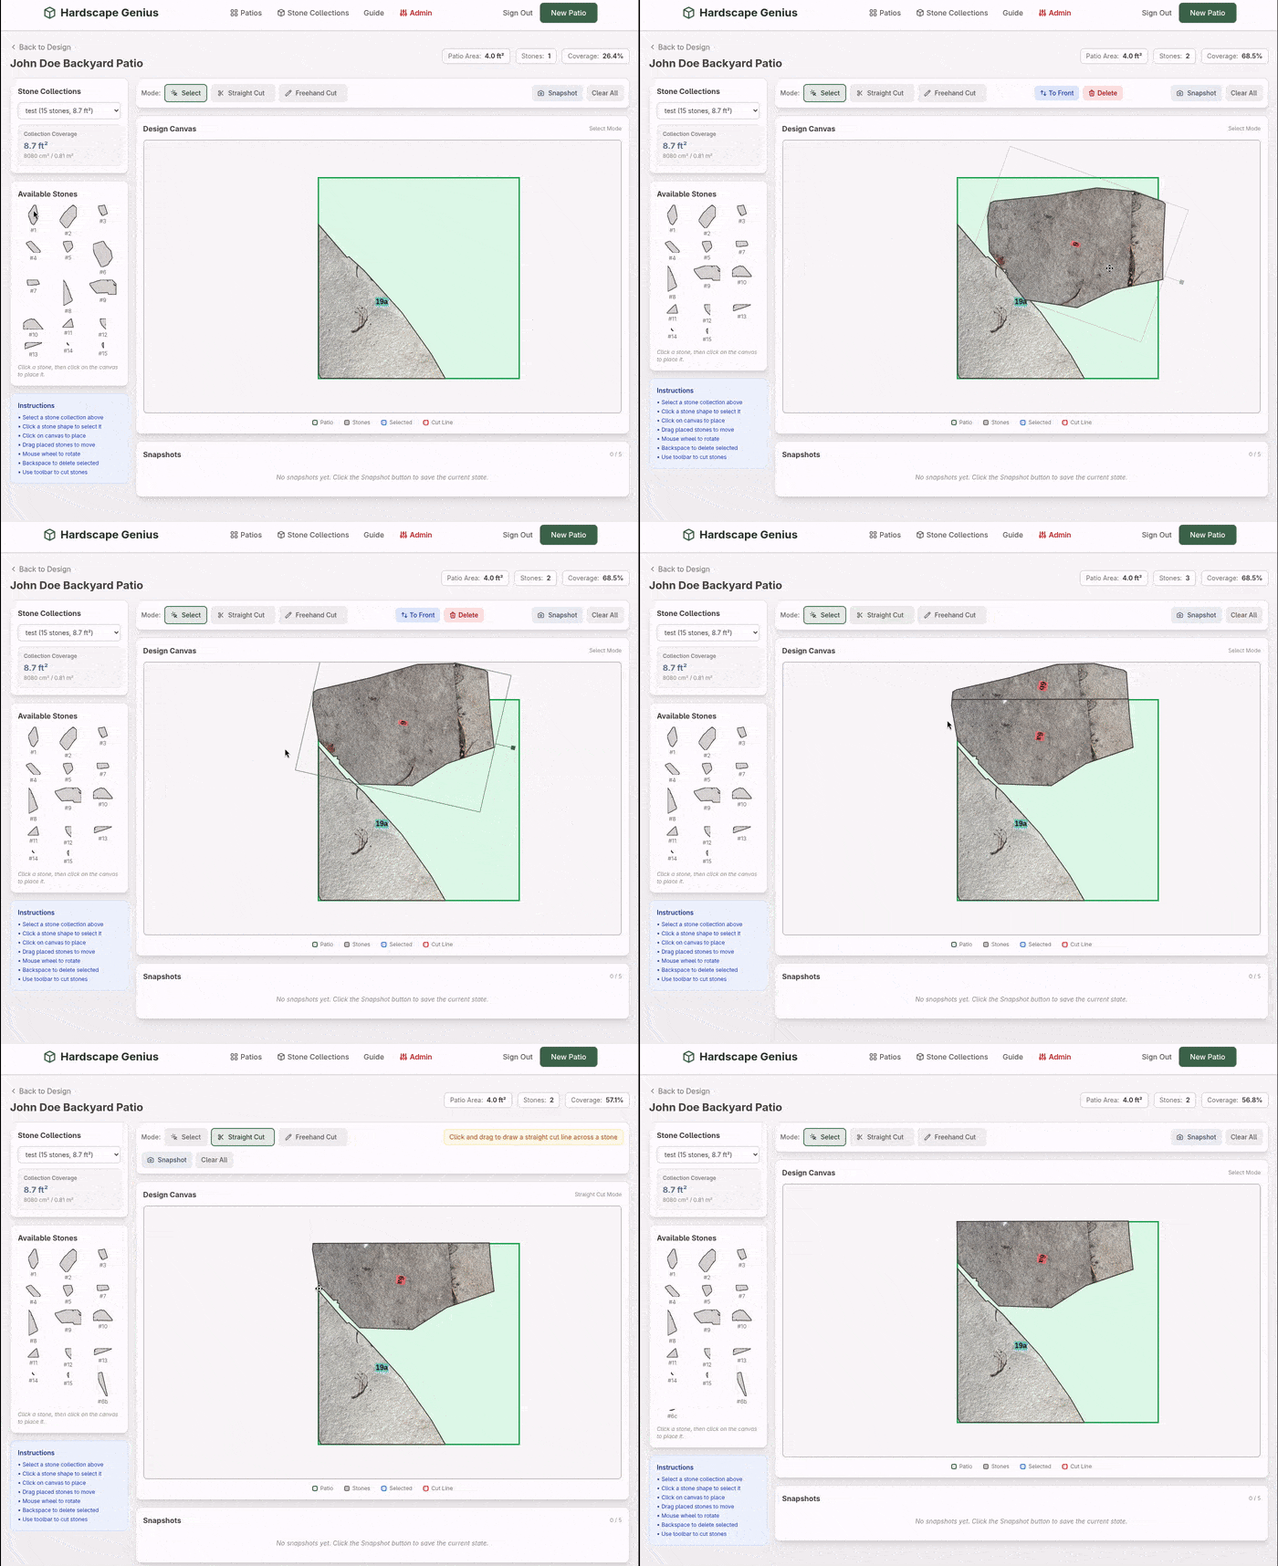
Need a stone to fit a specific space? Use our virtual cutting tool to see exactly where to cut before touching your actual stones.
Export & Build
When you're happy with your design, export your layout and follow your plan to build your perfect patio in real life!